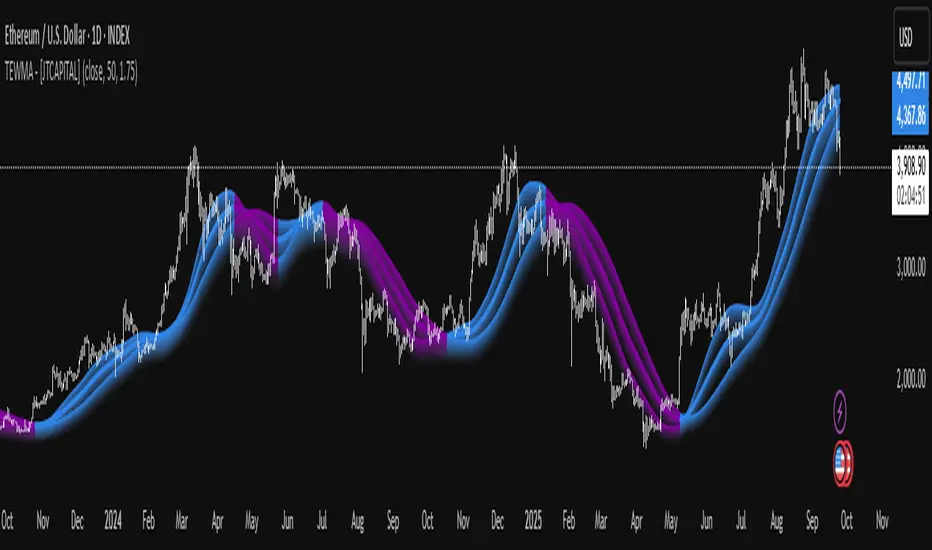
TEWMA - [JTCAPITAL]TEWMA - is a modified way to use Triple Exponential Moving Average (TEMA) combined with Weighted Moving Average (WMA) and adaptive multi-length averaging for Trend-Following.
The indicator blends short- and extended-length smoothed signals into a single adaptive line, then assigns directional bias to highlight bullish or bearish phases more clearly.
The indicator works by calculating in the following steps:
Source Selection
The script begins with a selectable price source (default: Close, but can be changed to Open, High, Low, HL2, etc.). This ensures flexibility depending on the user’s preferred market perspective.
Dual-Length Calculation
A base length ( len ) is chosen, and then multiplied by a factor ( multi , default 1.75). This produces a secondary, longer period ( len2 ) that adapts proportionally to the base.
Weighted + Triple Exponential Smoothing
-First, a WMA (Weighted Moving Average) is applied to the price source.
-Then, the TEMA (Triple Exponential Moving Average) is applied to smooth the WMA even further.
-This process is repeated for both len and len2 , producing TEWMA1 and TEWMA2 .
Adaptive Averaging
The final TEWMA line is calculated as the average of TEWMA1 and TEWMA2, creating a blend between the short-term and extended-term signals. This balances reactivity and stability, reducing lag while avoiding excessive noise.
Trend Direction Detection
-If TEWMA is greater than its previous value → Bullish .
-If TEWMA is lower than its previous value → Bearish .
-A Signal variable is used to store this directional bias, ensuring continuity between bars.
Visual Plotting
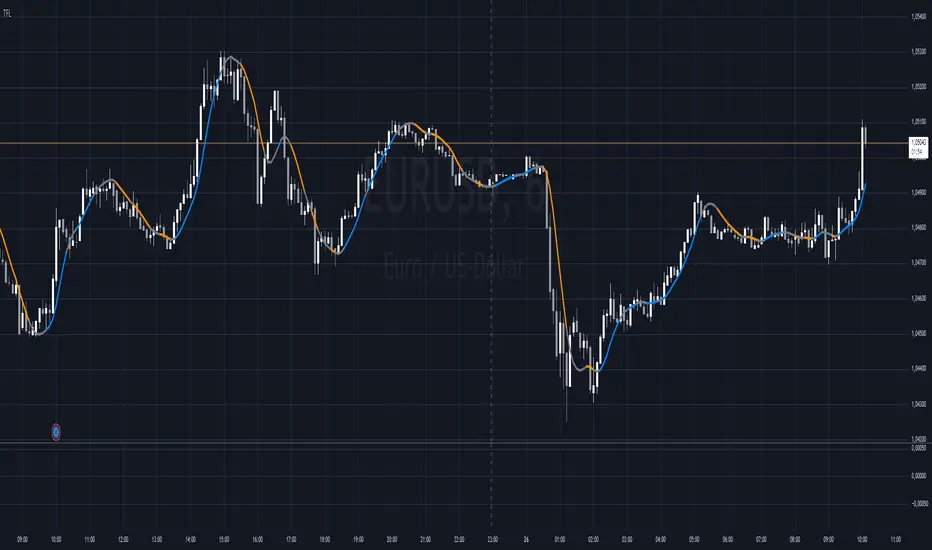
-The main TEWMA is plotted with bold coloring (Blue for bullish, Purple for bearish).
-TEWMA1 and TEWMA2 are plotted as thinner supporting lines.
-Each line is given a shadow-fill (between 100% and 90% of its value) for emphasis and visual clarity.
Alerts
Custom alerts are defined:
- TEWMA Long → when bullish.
- TEWMA Short → when bearish.
-These alerts can be integrated into TradingView’s alerting system for automated notifications.
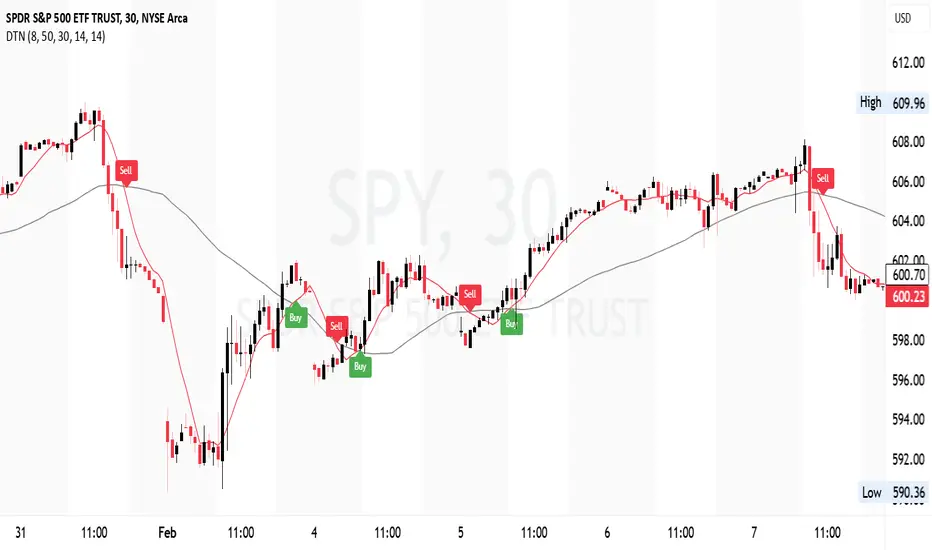
Buy and Sell Conditions :
- Buy : Triggered when TEWMA rises (bullish slope). The indicator colors the line blue and an alert can be fired.
- Sell : Triggered when TEWMA declines (bearish slope). The line turns purple, signaling potential short or exit points.
Features and Parameters :
- Source → Selectable price input (Close, Open, HL2, etc.).
- Length (len) → Base period for the WMA/TEMA calculation.
- Multiplier (multi) → Scales the secondary length to create a longer-term smoothing.
- Color-coded Trend Lines → Blue for bullish, Purple for bearish.
- Shadow Fill Effects → Provides depth and easier visualization of trend direction.
- Alert Conditions → Prebuilt alerts for both Long and Short scenarios.
Specifications :
Weighted Moving Average (WMA)
The WMA assigns more weight to recent price values, making it more responsive than a Simple Moving Average (SMA). This enhances early detection of market turns while reducing lag compared to longer-term averages.
Triple Exponential Moving Average (TEMA)
TEMA is designed to minimize lag by combining multiple EMA layers (EMA of EMA of EMA). It is smoother and more adaptive than traditional EMAs, making it ideal for detecting true market direction without overreacting to small fluctuations.
Multi-Length Averaging
By calculating two versions of WMA → TEMA with different lengths and then averaging them, the indicator balances responsiveness (short-term sensitivity) and reliability (long-term confirmation). This prevents whipsawing while keeping signals timely.
Adaptive Signal Assignment
Instead of simply flipping signals at crossovers, the indicator checks slope direction of TEWMA. This ensures smoother trend-following behavior, reducing false positives in sideways conditions.
Color-Coding & Visual Shading
Visual clarity is achieved by coloring bullish periods differently from bearish ones, with shaded fills beneath each line. This allows traders to instantly identify trend conditions and compare short- vs long-term signals.
Alert Conditions
Trading decisions can be automated by attaching alerts to the TEWMA’s bullish and bearish states. This makes it practical for active trading, swing setups, or algorithmic strategies.
Enjoy!
Indicador Pine Script®