NeuroPolynomial ChannelNeuroPolynomial Channel is a structure-oriented price channel designed to model price curvature, balance, and realized deviation using recursive non-linear smoothing.
Rather than relying on standard moving averages or statistical volatility assumptions, the indicator separates structure estimation from deviation measurement, allowing each to adapt independently.
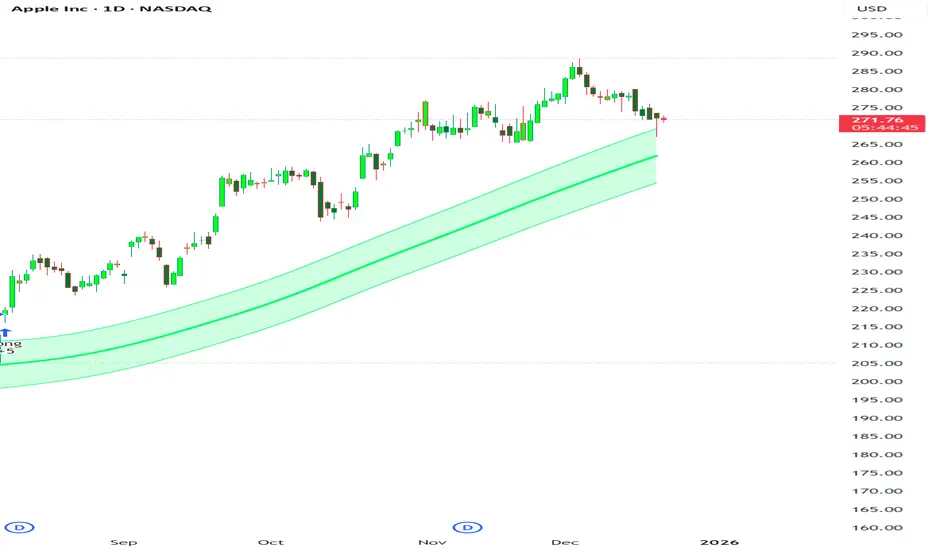
Structural Core (Recursive Curvature Line)
The centerline is generated using a recursive smoothing process with controlled curvature.
By blending current price with historical estimates and introducing a curvature term, the line forms a non-linear structural path that adapts gradually to changing market conditions.
This approach emphasizes:
Structural continuity over short-term noise
Gradual regime transitions instead of abrupt shifts
User-controlled responsiveness via curvature and blending parameters
The result is a centerline that reflects price structure, not just short-term averages.
Deviation Field (Adaptive Bands)
Channel width is derived from the observed absolute deviation between price and the structural core.
Instead of assuming a normal distribution, deviation is measured directly from realized price behavior and expressed through multiple band layers:
Inner structure boundary
Intermediate deviation zone (optional)
Outer deviation boundary (optional)
As price behavior changes, the deviation field expands or contracts organically, providing a contextual view of compression, balance, and expansion.
Interpretation Framework
Balance & Control
Persistent acceptance on one side of the structural core reflects directional control.
Compression
Narrow deviation bands signal reduced realized movement and potential energy buildup.
Expansion
Widening bands indicate increasing deviation and active range development.
..................................................................................................................
The indicator is intended for contextual interpretation, not mechanical signal generation.
Configuration
Length – Structural memory depth
Morph Factor – Degree of historical blending
Flatten Factor – Curvature sensitivity control
Deviation Multipliers – Band spacing
Visual Controls – Theme and candle tinting
Notes:
Deviation is derived from realized price movement and adapts gradually.
Recursive calculations initialize from available chart history.
This tool does not forecast future prices.
Disclaimer:
This indicator is provided for analytical and educational purposes only.
It does not constitute financial advice or a trading recommendation.
Indicador Pine Script®